
Felt Story Board Cutouts
- crayonsinmycoffee
- Jul 28, 2018
- 3 min read

The other evening I was perusing Pinterest with a cup of tea in hand when I came across a DIY post I couldn't scroll past. It was THIS post from Buggy and Buddy on how to make your own Felt Story Board using a cork board!!
As soon as I saw this pin, you guys, a few things came to mind:
I have a giant cork board sitting in a closet just collecting dust--a cork board that I'd been MEANING to get rid of one of these days.
My toddler is OBSESSED with these felt busy-books we picked up in the Dollar Spot at Target. (I would link them, but you know how they don't like to carry Dollar Spot stuff online soooo... *insert eyeroll emoji here*)
I also have a GIANT piece of random green felt sitting in my office from a previous project, and it is definitely big enough to make this!
So I drove off to the store picked up some spray adhesive and that was that.
I would like to say I threw that felt board together in minutes, but that would be a lie. I fluked the first try hardcore, but LUCKILY had enough felt to give it another try. (Don't ask why I had so much green felt lying around...) And I am SO glad I did! When it was complete, I collected all of the random felt pieces from various busy books and stuck them to the board. I just stared at it and thought I bet I could make my own felt story board shapes. And thats what brings you to this post...

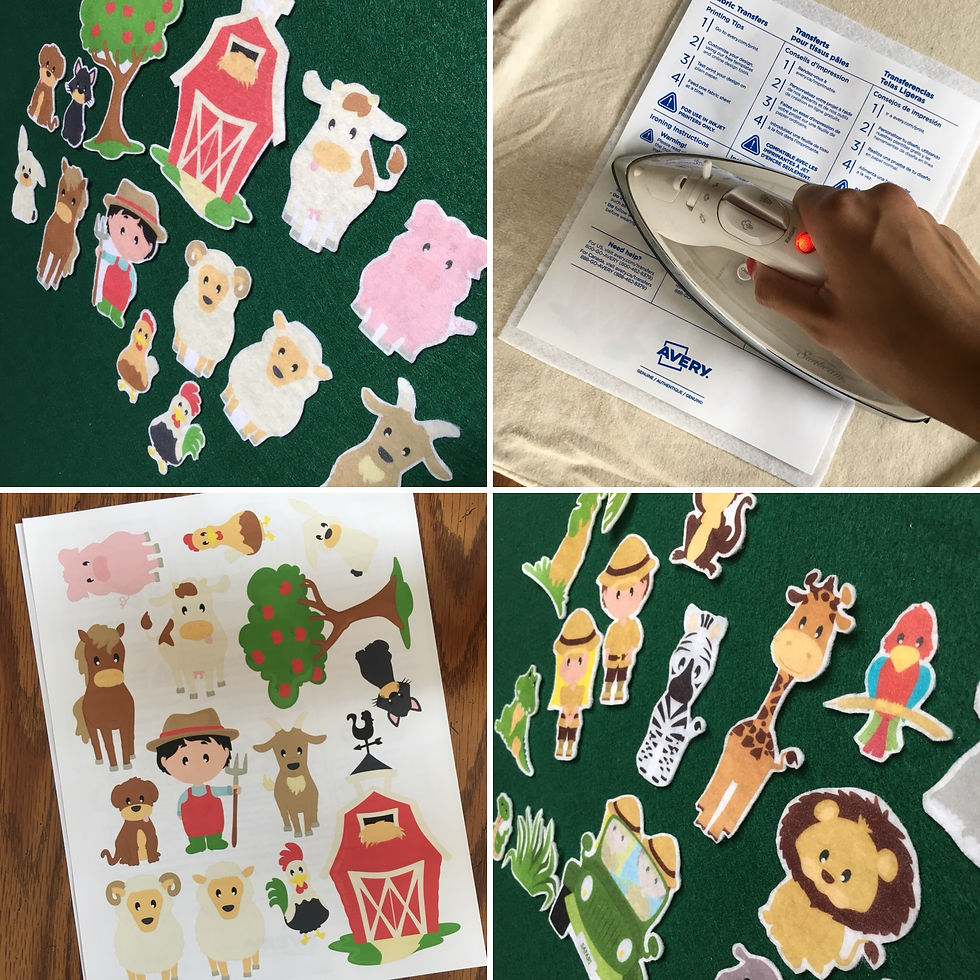
(Aren't these sets just THE CUTEST. When my husband saw them he honestly couldn't even believe I MADE THESE. And guess what?? YOU CAN TOO. If you have a printer and an iron you are pretty much set!) . **Disclaimer: The cute little sun and rain cloud I made by hand with just felt and googley eyes! No transfer paper needed for those little friends.
How To Make Felt Story Board Cutouts
Here's what you need:
**For this tutorial, I will be using Avery Light Fabric Transfer Paper. If you are using a different transfer paper, go ahead and follow the instructions provided to you. These instructions are the instructions given for this specific product.
**ALSO If you want to print onto a DARK colored felt, be sure to purchase a transfer paper made for dark fabrics like this one.
STEP 1: Go to avery.com/print and enter the product code found on the front of the package. (3721 if you are using the linked product) Go ahead and select "Start Designing" ... Or click "Upload Design" if you already have one ready to print!
STEP 2: Upload all of your clipart to your template and resize/rearrange until they are the sizes you want. Don't be afraid to turn those little guys sideways or upside down to make sure everyone fits--remember you're going to be cutting them all out anyways. Once ready... PRINT.
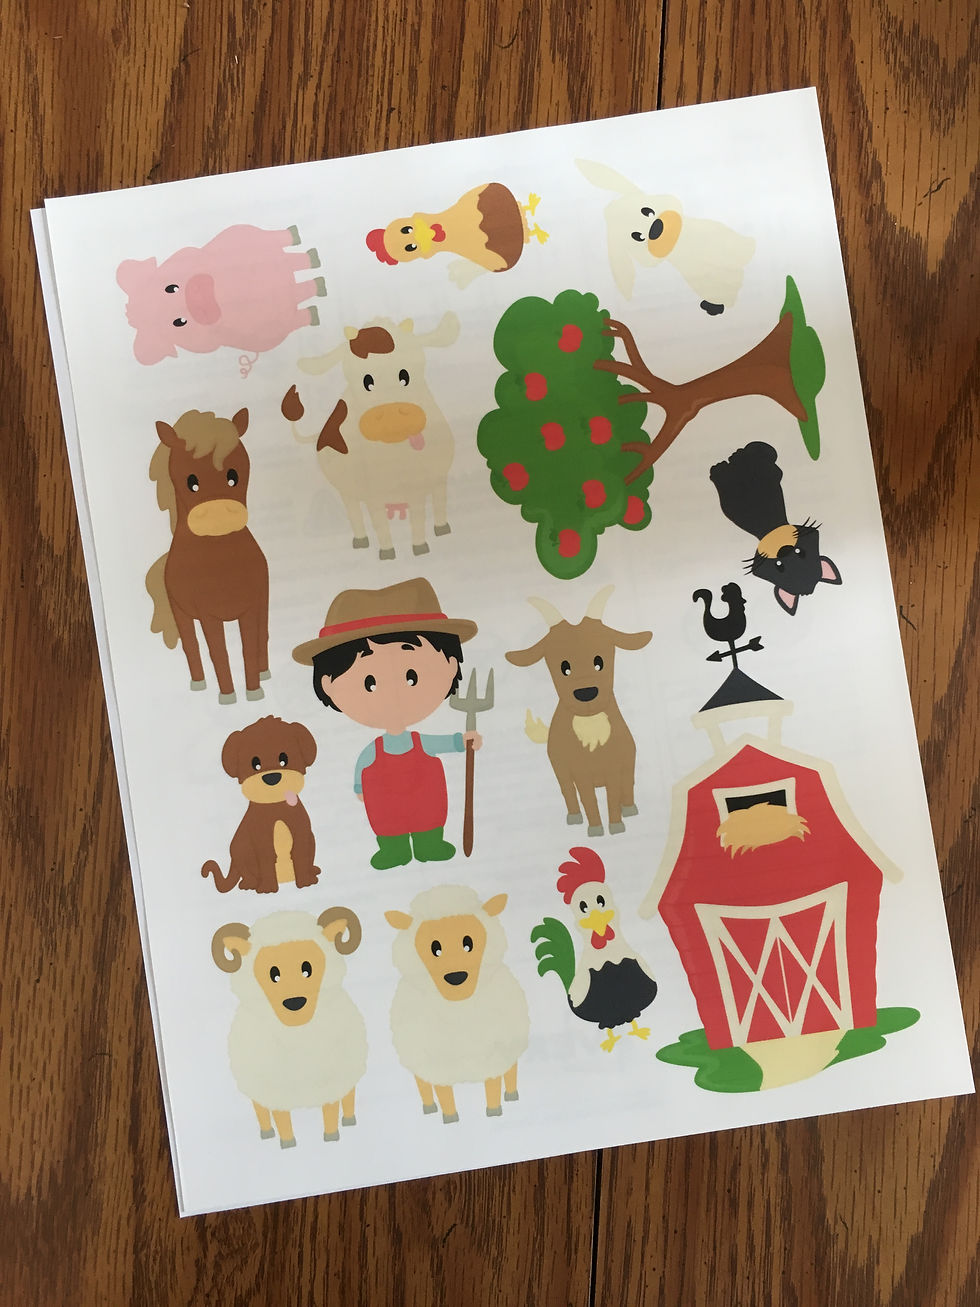
<--Here is the farm set, printed and ready to transfer!!!
STEP 3: Heat up your iron. Set it to "Cotton" (or a High setting) with NO STEAM and NO WATER. Let it heat up for 5 minutes.
STEP 4: Lay out your cotton pillowcase on a smooth heat-resistant surface. (Provided instructions recommend NOT to use an ironing board!!) I just used my dining room table! Once the iron is heated, use it to smooth any wrinkles out of the pillowcase to provide a smooth work surface for your transfer.
STEP 5: Lay down your felt and place your transfer paper printed side down. Begin ironing with firm pressure slowly. Iron for about 3 minutes. Set aside and let cook for 2 more minutes.
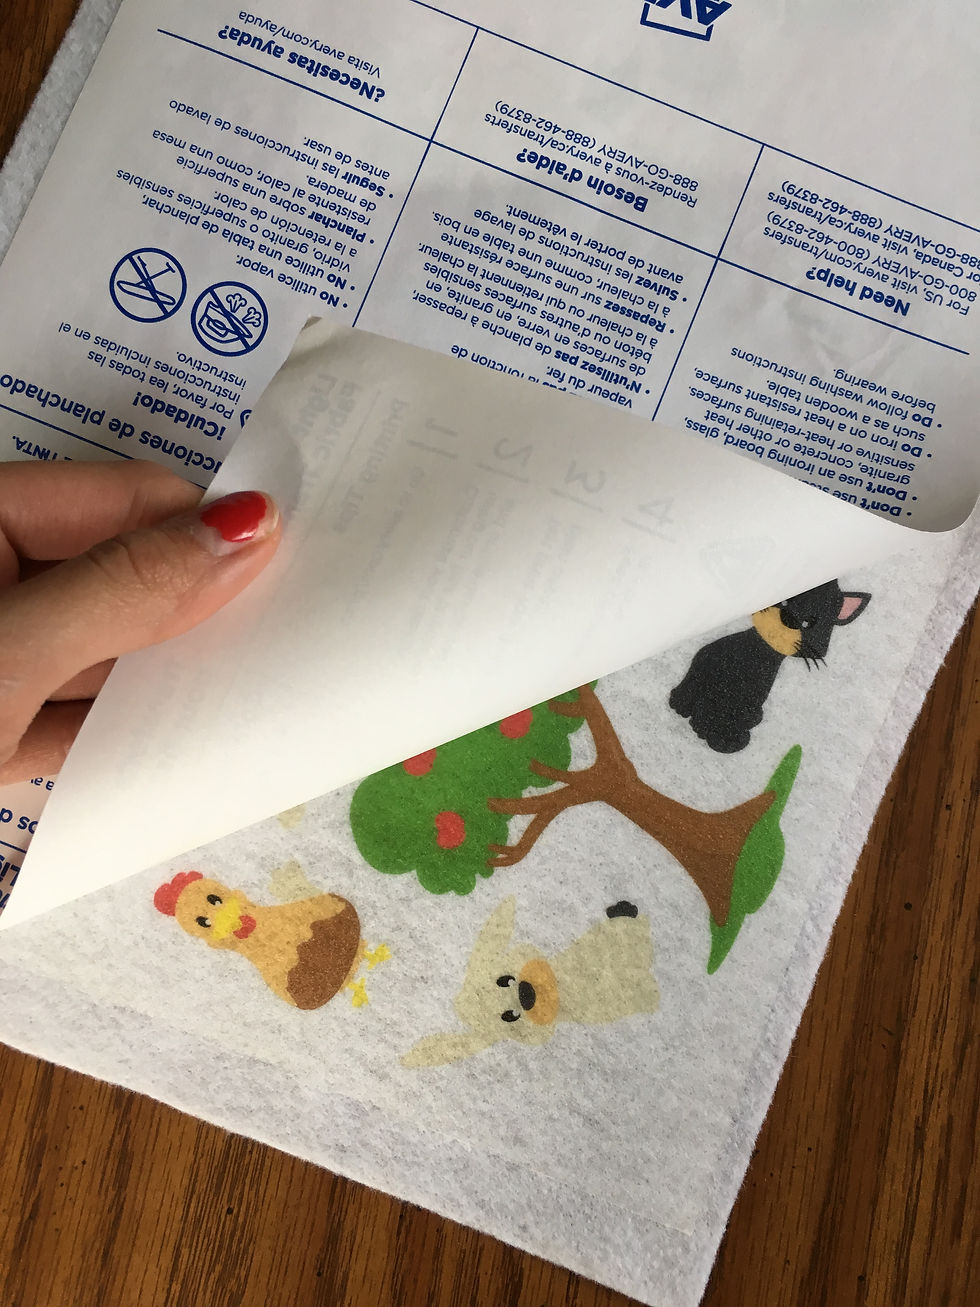

STEP 6: Remove backing from transfer paper and BOOM. Pretty pretty printed felt!
STEP 7: Cut out pieces and play!

I hope you enjoyed this tutorial :) See you again soon!


留言